When I knew my sister and the girls were coming to visit, I started researching fun ideas for projects that we could do. Pinterest is the best! One of the projects we tackled was this one.
We went to Wal-mart to gather supplies, and then on the first rainy day, we had a fun indoor project to work on.

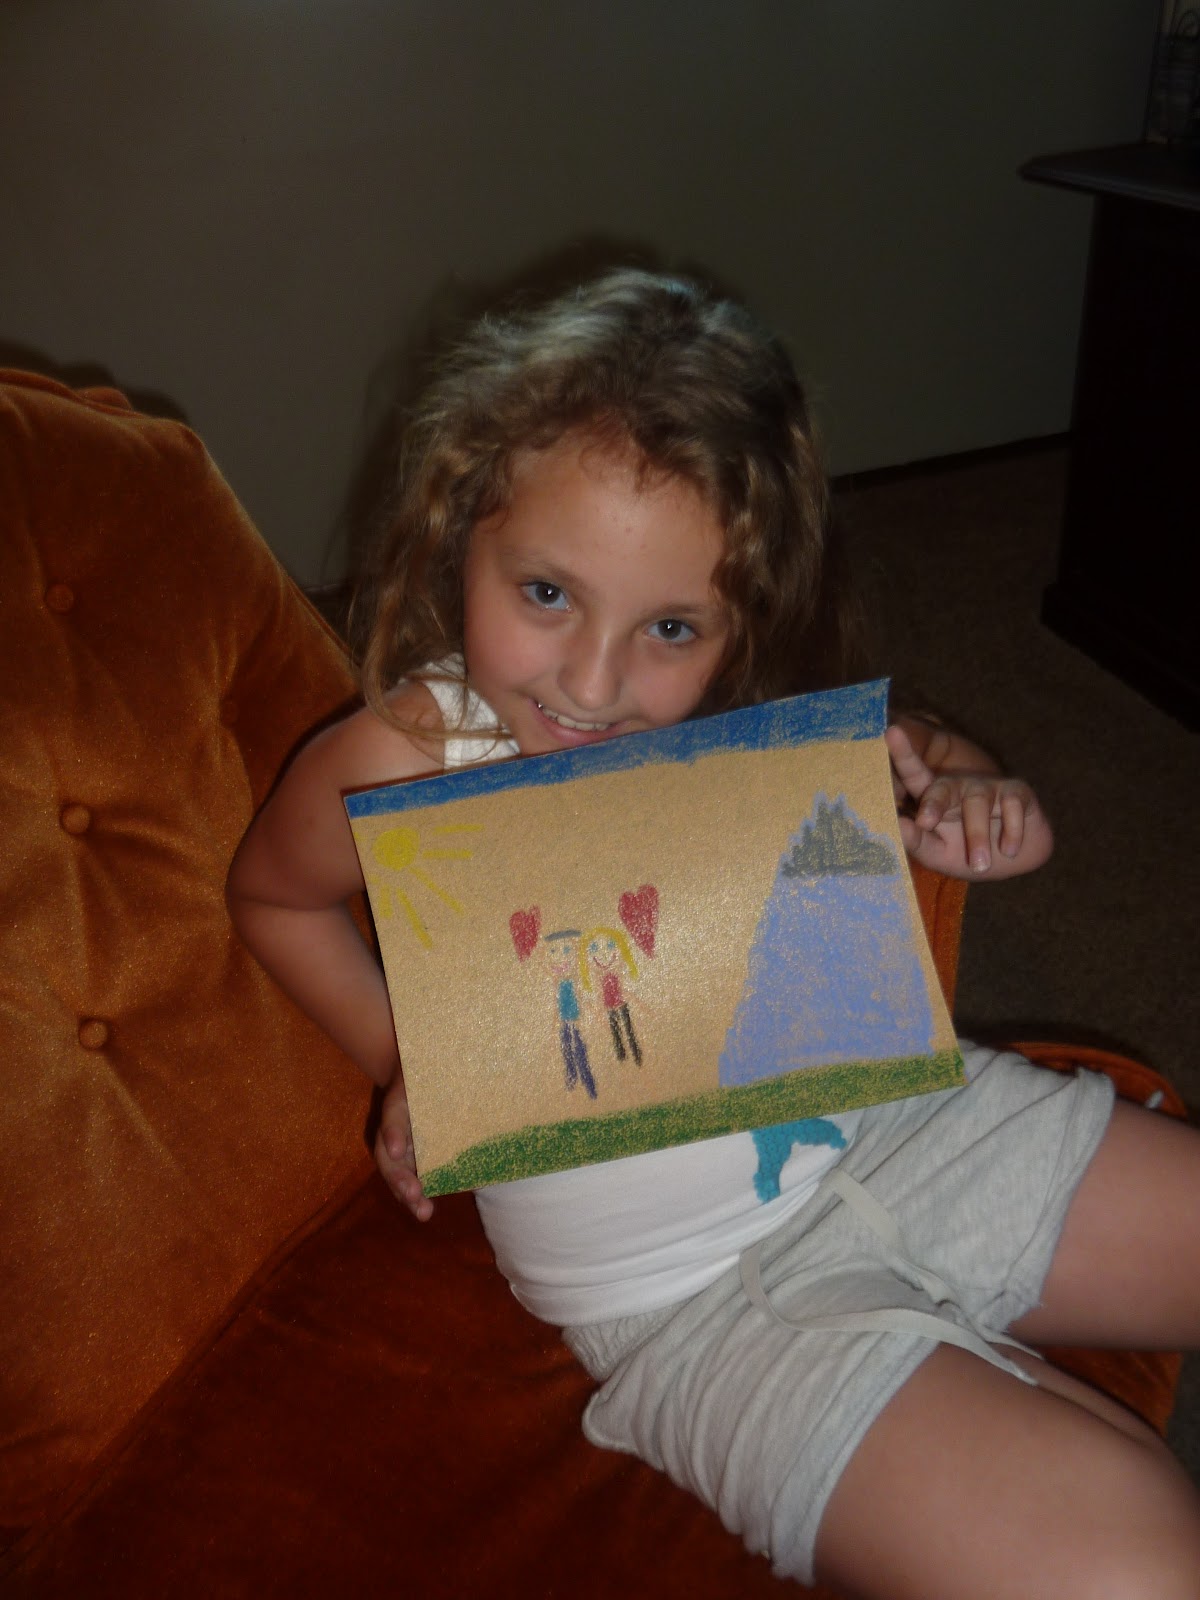
Step 1: Color on sand-paper! Make sure you push pretty hard to get a lot of wax on there. After the girls finished their drawings, Jill and I ran back over everything again to make sure it was dark enough.


Step 2: Engineer husband points out that the words will be mirror images when we iron them on. The instructions said this, but I didn't remember. Thank goodness he realized that and told us before it was too late! Re-write words in mirror image fashion.

Step 3: Put something between the front and back of shirt, to prevent bleeding through. Place sandpaper on shirt, parchment paper over sand paper, and then iron it, for about 30 seconds in each spot, to melt the wax onto the shirt.
Step 4: Make a child super happy when you show them the new shirt they just designed! They were so excited! The real step 4 is throwing the shirts in the dryer for about 20 minutes to set the wax.


After we made the shirts for the girls, they were trying to think of a present to give my parents for their 40th anniversary, and we figured sandpaper tshirts were pretty cool! Matti and Delia drew pictures of Grandma and Grandpa in Alaska (which is where they were!).


This was a really fun project, and super easy! Allegedly, these shirts are safe to wash and dry like normal. I'm waiting to hear from my sister on whether that proves to be true.
Such a great craft idea. I have my niece staying with us, I will have to look into doing this with her!
ReplyDelete